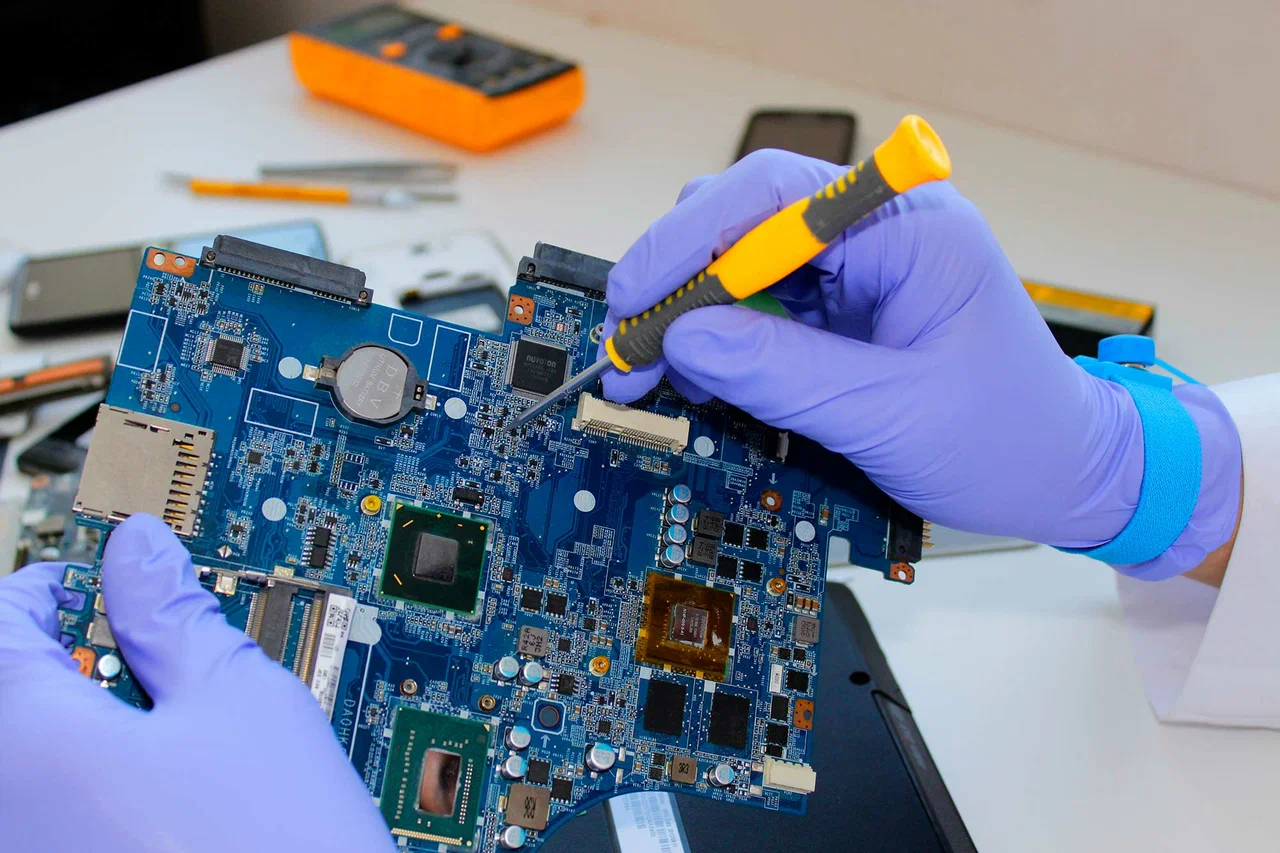
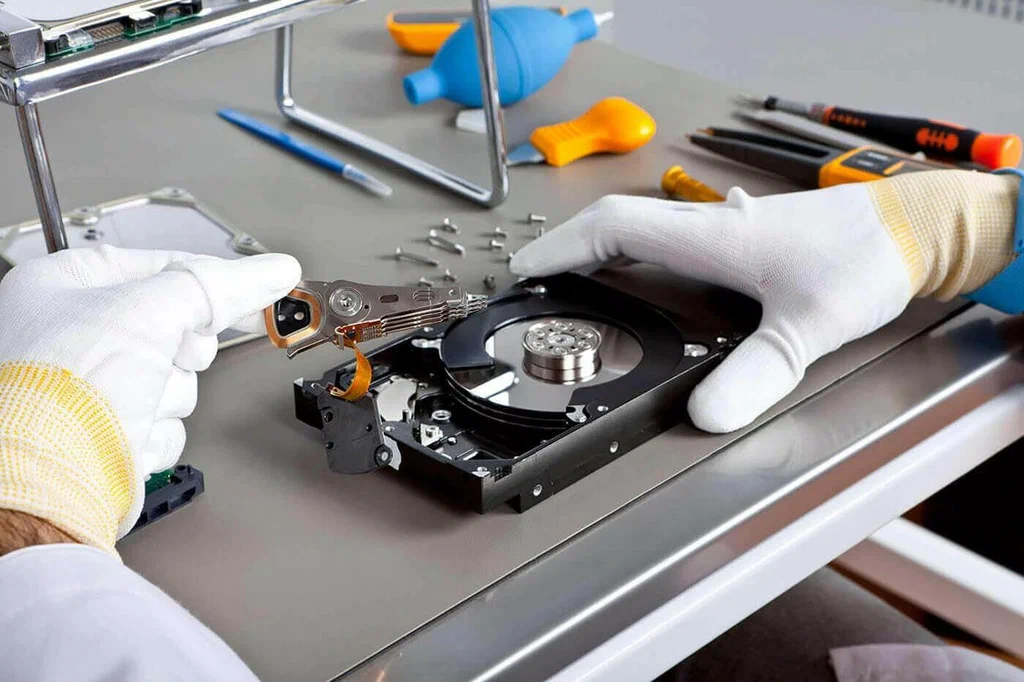
When it comes to computer issues, few things sound as intimidating as a motherboard replacement. The motherboard is the backbone of your system, connecting all critical components like the CPU, RAM, storage drives, and peripherals. While swapping out a faulty board or performing motherboard repair may seem straightforward for technicians, one often-overlooked aspect is data safety.
Data loss during this process can be catastrophic—whether it’s business files, personal photos, or sensitive client records. Fortunately, with the right precautions, you can ensure that your valuable information remains intact before, during, and after a motherboard swap. This blog will walk you through practical data safety tips, blending professional insights with real-world examples.
Why Data Safety Matters in Motherboard Replacement
Replacing or repairing a motherboard doesn’t directly involve your storage drives. However, several risks can still impact your data:
- Power surges while disconnecting or reconnecting components.
- Incorrect handling leading to static discharge damage.
- Compatibility issues after a new board is installed.
- OS reactivation or corruption, especially with Windows licensing tied to hardware.
Without preparation, even a simple motherboard repair can turn into hours of recovery work—or worse, permanent data loss.
Step 1: Back Up Your Data Before Any Work
The golden rule: Always back up before you begin.
Backup Methods to Consider:
- External Drives: Copy critical files to an external HDD or SSD.
- Cloud Storage: Services like Google Drive, OneDrive, or Dropbox provide an extra safety net.
- Disk Imaging Software: Tools like Macrium Reflect or Acronis True Image create full system images, allowing you to restore your OS, apps, and files exactly as they were.
👉 Pro Tip: Never rely on a single backup. Keep at least two—one local and one offsite/cloud—for maximum security.
Step 2: Power Down and Discharge Properly
Before removing the motherboard, always:
- Shut down the PC completely.
- Unplug the power supply.
- Press the power button for 10 seconds to discharge residual current.
- Use an anti-static wrist strap to prevent accidental shocks.
This simple step protects both your hardware and, indirectly, your data. A fried storage drive due to static mishandling could mean irreplaceable files are gone forever.
Step 3: Label and Organize Connections
A motherboard is home to dozens of connectors—SATA cables, power supply leads, front panel connectors, and more. Misplacing even one can lead to boot issues or drive detection errors.
- Take photos before unplugging anything.
- Label cables with masking tape or cable tags.
- Keep screws sorted using a magnetic tray or small containers.
Organized handling ensures your storage drives reconnect properly, reducing risks of accidental overwriting or failed boot-ups.
Step 4: Check BIOS/UEFI Settings After Replacement
Once the new motherboard is installed, your system may not recognize your drives immediately.
Key Settings to Verify:
- Boot Priority: Ensure your primary storage drive is at the top of the list.
- SATA Configuration: Set to AHCI mode unless your system requires RAID.
- Secure Boot & TPM: Re-enable these if needed for Windows 11.
Failing to configure BIOS correctly could prevent your system from booting, leading to unnecessary panic about “lost” data.
Step 5: Handle OS and Software Licensing
Here’s an often-overlooked challenge: Windows licensing is tied to your motherboard. After a replacement, you might see activation issues.
- If you use a retail license, simply reactivate with your Microsoft account.
- For OEM licenses, you may need to contact Microsoft support.
Why is this important for data safety? Because failed activation or improper reinstallation attempts can accidentally overwrite or corrupt existing files. Always clarify licensing before starting.
Step 6: Test Before Full Assembly
Before sealing the case back up:
- Reconnect only essential components (CPU, RAM, GPU, storage).
- Boot into the OS and verify that all drives are detected.
- Run quick file-access tests to ensure no corruption.
If everything checks out, proceed to connect the remaining peripherals. This staged approach avoids repeated disassembly and reduces risks of damaging components.
Step 7: Secure Data Post-Replacement
Once the new board is running smoothly, don’t assume your job is done. Take a few extra steps:
- Run disk health checks with tools like CrystalDiskInfo.
- Revalidate backups to confirm they open and restore correctly.
- Enable automatic backups moving forward to stay protected against future hardware issues.
Real-World Example: When Backups Save the Day
One of our internal technicians recently performed a motherboard repair for a client’s PC that hosted important financial data. The replacement went smoothly, but the system initially failed to detect the SSD due to BIOS misconfiguration. Because the client had followed our advice to create a disk image beforehand, we restored their entire system in under an hour. Without that backup, days of financial records could have been lost.
Bonus Tips for Extra Safety
- Document Everything: Keep notes of BIOS settings, drive order, and cable connections before disassembly.
- Use Surge Protection: A surge protector or UPS adds an extra layer of data protection.
- Professional Help: If unsure, let an experienced technician handle the motherboard replacement. The cost of expert help is far less than the cost of lost data.
Conclusion
A motherboard replacement is often unavoidable when dealing with hardware failures, but it doesn’t have to be a data disaster. By preparing backups, handling hardware carefully, configuring BIOS correctly, and verifying everything step by step, you can protect your valuable information throughout the process.
Data safety is about foresight, not luck. The extra time you spend securing files before and after a motherboard repair will pay off in peace of mind—and ensure that even if your hardware fails, your data doesn’t.


