MacBook Air
A1237 MacBook Air
A1204 MacBook Air
A1369 MacBook Air
A1370 MacBook Air
A1465 MacBook Air
A1466 MacBook Air
We take care of MacBook Laptop Battery replacement for:
A1237 MacBook Air
A1204 MacBook Air
A1369 MacBook Air
A1370 MacBook Air
A1465 MacBook Air
A1466 MacBook Air
A1342 MacBook White
A1278 MacBook / Macbook Pro
A1297 Macbook Pro 17 ″
A1286 MacBook Pro 15 “
A1425 MacBook Pro Retina
A1502 MacBook Pro Retina
A1398 MacBook Pro Retina
The battery life of your MacBook (MacBook, MacBook Air, MacBook Pro) depends on the configuration of your computer and how you use it.
Need tips on how to extend your MacBook’s battery life?
Here are some simple and easy steps to increase the battery life of your MacBook, MacBook Pro, or MacBook Air.
Adjust Screen Brightness: Brightness can affect battery life by pressing F1 or in the Apple menu. – Preferences – You can adjust the brightness of your monitor to reduce viewing comfort.
Graphics Card Performance: The 15″ and 17″ MacBook Pros include dual graphics processors called GPUs that can deliver incredible performance, but this leads to more power consumption.
Energy Saver: If you go to Energy Saver and select the Energy Saver pane, you have many options to improve your MacBook’s battery life (stick screen when not not in use, turn off the backlight, etc.).
All MacBooks from Air to Pro have AirPort or Bluetooth, cut off external Express Card, Thunderbolt, FireWire, USB, SD, insert CD or DVD.Most of the time, the problem is not only because the Macbook is not working properly or the battery is worn out, but sometimes the electronics need to be replaced.Be sure to consult an industry expert to replace internal batteries in all early 2009 or later MacBook Air computers, all MacBook Pro computers with Retina displays, and all 13-inch MacBook devices (late 2009 and later models) on all MacBook Pros.Good support, consultation and intervention, competitive prices and fast and punctual delivery.
If you own a Surface pro battery replacement, then you know how important battery life is to the overall performance of your device. While Microsoft’s line of Surface Pros are known for their impressive battery runtimes, there comes a time when these batteries will start to lose their effectiveness. When this happens, it’s time to consider replacing your Surface Pro battery.
The good news is that replacing your Surface Pro battery is not as complicated as it may seem. In fact, with a few basic tools and some careful attention to detail, anyone can replace their own Surface Pro battery at home without needing professional help. Not only will this save you money on repair costs but it will also extend the runtime of your device significantly.
Before you attempt to replace your Surface Pro battery, be sure to read through the user manual thoroughly so that you understand what tools and techniques are required for proper installation.
The MacBook Air Pro is one of the most popular laptops on the market today. One of its biggest selling points is its long battery life, which can last for up to 12 hours on a single charge. However, even the best batteries eventually need to be replaced. Fortunately, replacing the battery in a MacBook Air Pro is easier than you might think.
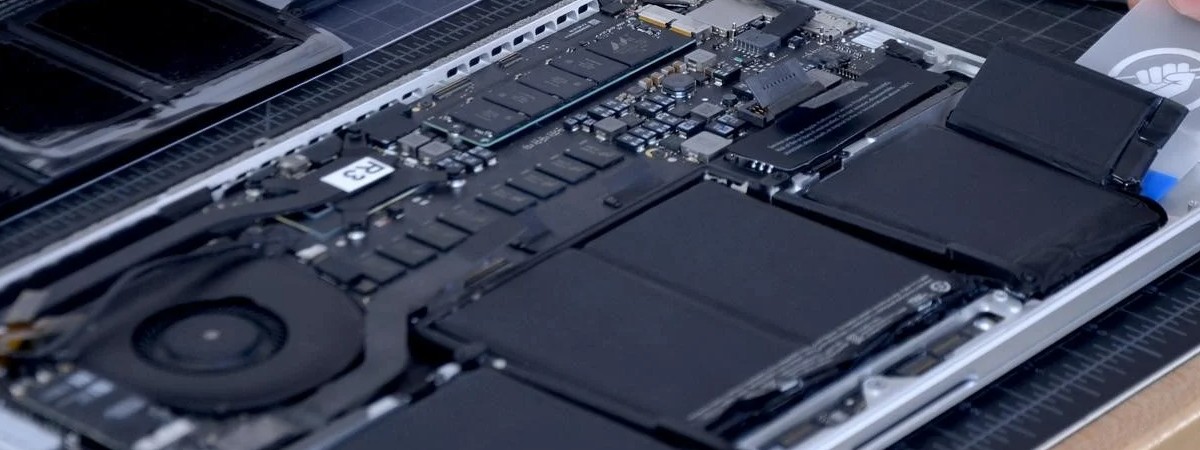
The first step in replacing your MacBook air/pro battery replacement is to turn off your laptop and unplug it from any power sources. You’ll also want to make sure that you have all the necessary tools before you begin – this includes a screwdriver and replacement battery. Once you have everything ready, simply remove the bottom cover of your laptop using your screwdriver.
Next, locate the old battery inside your MacBook Air Pro and carefully disconnect it from its connector. Be sure to note how it was connected so that you can reconnect it correctly later on.